Designing a space is more than just choosing furniture and colors. It’s a thoughtful process that brings creativity and practicality together. Whether you’re a client curious about what to expect or someone exploring interior design as a career, this step-by-step guide will help you understand how interior designers transform spaces.
1. Site Measurement
The first step is to visit the site and take accurate measurements of each room. This includes the size and position of doors, windows, ceiling height, and any structural elements. These measurements form the base for all planning and drawings.
2. Furniture Layout Planning
Once the measurements are ready, we start planning the layout. This step involves arranging furniture in a way that ensures comfort, function, and flow. The goal is to create a space that works well for the people using it.
3. Concept Design & Mood Board
In this stage, we define the overall theme and style of the project. We gather inspiration through mood boards that include color palettes, materials, textures, and sample images. This helps the client visualize the direction of the design.
4. 3D Visualization
To bring the design to life, 3D views and renders are created. These help clients understand how the space will look and feel, including the placement of furniture, lighting, colors, and decor elements.
5. Material Selection & Approval
Now we choose the actual materials to be used—fabrics, finishes, tiles, paint colors, wood, and hardware. Samples are shown to the client for approval, ensuring everything aligns with the concept and budget.
6. Lighting & Electrical Layout
Lighting plays a major role in interior design. We plan the location of lights, switches, plugs, and appliances based on the layout and function of the space. This ensures good lighting and ease of use.
7. Plumbing Layout
Plumbing lines are planned for kitchens, bathrooms, and wash areas. We finalize positions for water inlets, outlets, and drainage, keeping functionality and future maintenance in mind.
8. False Ceiling & POP Design
We design ceiling patterns and levels, including light placements. This can include cove lighting, trims, and other decorative ceiling details that enhance the overall look of the room.
9. Detailed Working Drawings
Detailed technical drawings are created for contractors and workers like carpenters, electricians, and painters. These include exact measurements, elevations, and other important instructions for smooth execution.
10. Vendor & Contractor Co-ordination
All plans and timelines are shared with vendors and contractors. This ensures everyone is on the same page, and the work proceeds smoothly without confusion or delays.
11. Site Execution
Work begins on-site—starting with electrical, plumbing, carpentry, painting, and flooring. Regular site visits are done to check the progress, solve issues, and maintain quality control.
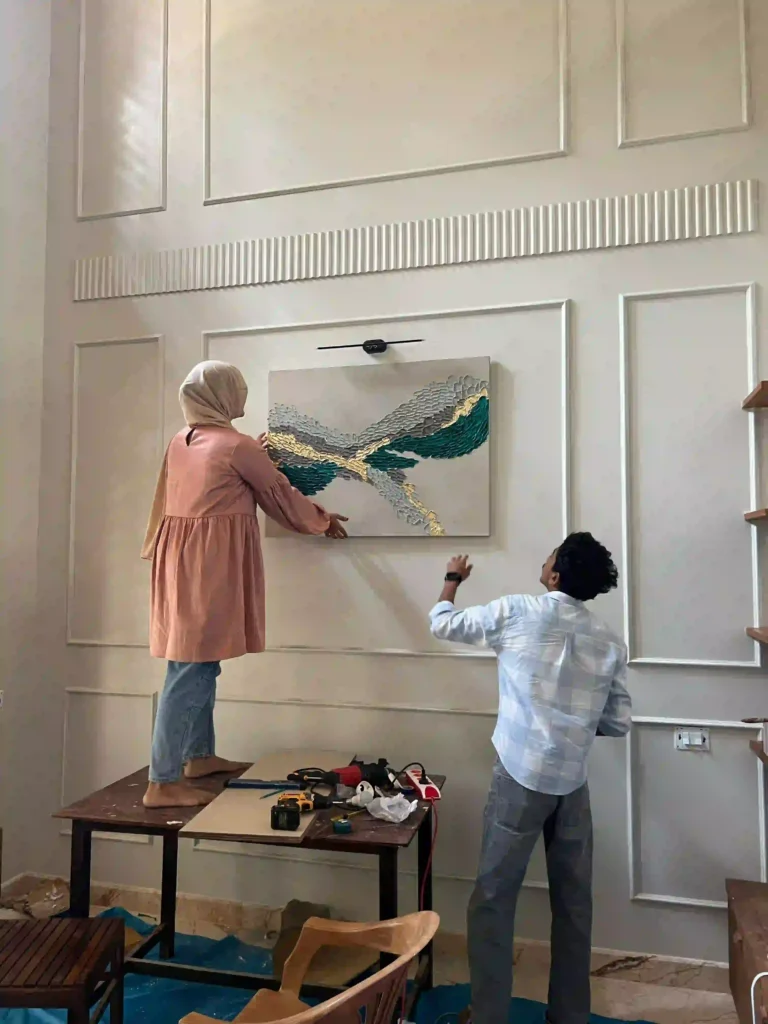
12. Styling & Finishing
Once major work is done, it’s time to add the final touch—soft furnishings, curtains, accessories, and artwork. We ensure everything is placed perfectly to match the design theme.
13. Final Inspection & Snag Check
Before handing over the site, a final inspection is done. We check for any small issues or finishing errors (called snags) and fix them to ensure everything is perfect.
14. Site Handover
The final step is the official handover. We walk the client through the finished space and hand over the keys with a sense of pride and satisfaction.
Conclusion
Interior design is a journey—from understanding the space to making it functional and beautiful. Each step is important and contributes to the final result. As a designer, following this process helps deliver a project that feels personal, practical, and aesthetically pleasing.